Showing posts with label being creative. Show all posts

Monday, July 13, 2026

Creating Things Are Fun!

    So here's some fun things I created while we were in recovery mode on Guam after Typhoon Bavi...

I got more badge making kits from Daiso and made this adorable bunny in blue and pink for my purse! I need to get more. All I had to do was print the cute Meyercord bunnies I had in my collection and made them in realistic looking plushies and added the art to a matte post card paper and used my printer to print them and cut to size. Now these cute badges will look adorable on a purse of mine!

Next, I took this acrylic badge holder key chain also from Daiso and same process I printed out the bunnies and added some adorable pearl pink ribbon cab and tiny pink daisies! Now, this is ready to be display on a purse or key chain.
 
The back side of the badge has origami paper of cherry blossoms, how cute!! Below, I've had this adorable purple heart key chain for some time I just had to get ready to make cute! So this time I took some sticker dolls I had and the origami paper of cherry blossoms and made a background. Added the cute dolly sticker at the center, then some of the pearl blue and pink bows I got from Daiso along with the pastel glass shards and lastly some pretty paper pink cherry blossoms I had. TaDa!! So cute! I may change out the ball chain for a cuter one! This one is definitely special to me!
 

 I also received a small box from Japan of some goodies. The one item below is for my collection. A vintage "Ribon" Little Girl Manga special gift badge that came when you got your subscription back in 1957. An adorable gold carriage with pink and yellow gem stones. For a little princess perhaps or one that day dreams she is...
I can almost imagine as a little girl or teen getting this badge brooch and saving it. Too cute! The other items in the box were for a customer. 
Sara and I plan on leaving for a little adventure!! More soon! 
Happy Thrifting friends!!

Thank you for looking! ~ ggsdolls

Sunday, April 5, 2026

New Special Creation!

   A special project came into my hands back in early May of last year. If you recall I was tasked to create an alien monkey from a TV show back in these posts... Fast forward to now, and the very same person wanted me to create a similar unique creature only he had imagined I could do for him!

The original look of the monkey body.
In May 2025, Robert contacted me proposing an idea of sorts. At the time, I had become a full time babysitter to my third grandchild. So of course, I had no time to do any restorations or commissions. I didn't want to begin one either knowing I may not be able to complete it. So, I politely declined and he was of course sad about it but very understanding. Throughout that day I could not stop thinking about it, and so I decided, perhaps I could try...

I wrote Robert back and said, that to him, but also that it would take a lot of time and I needed to know whether there was a specific date the new friend had to be completed. Sure enough, he was in no rush and even gathered all the materials I would need to help this new creature come to fruition! By late June of that year, the box with the plush arrived along with all the items to help make him.  Summer of 2025 was busy as I had a family trip and lots of things happening as well. So, I didn't revisit the project until Mid August. 

Removing the seams on the fabric.

Sewing on the scale fabric.
 I finally began the project of taking what had originally been a monkey plush with black fur, just like Bloop's original body and removed the rubber face and the fur. The monkey's body was a bit more simple, I just had to cover with it the green fur Robert had given to be sort of a suit on the body and add some scaling fabric to its chest and more fur to its hands and feet. The face would need to be recreated completely. So by September, I had finished the scales on the chest and the limbs fur. Now all I had to focus on the rubber face. The new creature's face was somewhat a bit more tricky to do. Because I had to work with the fact that I had no pattern to start with. You see when I had completed Bloop, I had the pattern set aside when she was completed back then, I somehow misplaced that very same pattern. So, I had no choice but to recreate a pattern all over again for this creature. It took time and days when I didn't have to babysit my grandchild. So it was just finding the right timing to complete the face once I got the pattern done. I made sure the rubber face was prepared and ready along with the ears.

The original pattern for the head and the rubber face, after being removed.

  
The rubber ears and fur cut out from the recreated paper pattern.

After new fur is sewn onto the rubber face. I had to replace the eye lock that was missing.

First attempt at the creature...
By October of 2025, I had finished the creature. At least, I thought I was! But upon inspection by Robert, he saw that it wasn't up to the specifics he had imagined. The ears weren't flushed with the face, the top of the head was a bit too pointed, and the face wasn't framed properly. Robert sent me a photo of Bloop and a drawing of the look for the creature he had imagined. So, it was back to the drawing board for me! I didn't revisit the creature until December, mostly because I was expecting my fourth grandchild and was off island for that trip! I tried my best to get the ears just right, but it still didn't work out. So, I was stumped! I had to sit there and really brainstorm about what was going on and how I could get it to work out like my first creation. At first, I thought perhaps it was the ears that I was given. Maybe it was too soft, pliable and needed help to keep it sturdy. But that wasn't the only issue. I realized later that it was the pattern I had created for it! Instead of two sides of the pattern I had only cut out one side of it. So I immediately fixed that issue and sure enough, along with wires and the two sides, that ultimately helped the ears in more ways than I had hoped for, Yay!!

I sent photos of the now second attempt of the creature, Robert gave his review of it and it was still not quite what he had hoped. The creatures face wasn't fuller and the fur didn't frame the face properly. I was angry at myself for the creature not being up to par for him. So, I had to ask myself, "Okay, what in the world is wrong here?" Robert had shown me the photo of Bloop and a drawing he made of the new creature and talked about Bloop's face details. I looked and looked, at his photo of Bloop and this creature... Then, it finally hit me!! That's why!!! Duh!! 

I realized it was the fur pile!! "What the heck is that, you ask!" Well it's the length of the hair on the fur, for those of you who don't know. The one he had purchased at the start of the project was only a one inch pile. I needed a longer hair pile at least three inches long to be exact. This was what I had used for Bloop's black fur. So I was able to find some examples for Robert to get. Sadly, my usual go to shop for my furs didn't have the color I needed to match this plush. Ugh. Luckily, Robert was able to find some and he immediately purchased it and had it shipped to me. Yippee!!

2nd attempt by January.

It was now a new year, 2026 to be exact, and January already! Armed with the new fur, I began the tedious work of removing and re-cutting and sewing the new fur so that everything was ready. In February I decided to take a bit of a break as it was my birthday month. By early March, I was done with this new vintage style creature. The fur worked out way better than I had hoped. After sending Robert the photos of my third attempt at completing the creature and sharing back and forth. He noted that the face and framing of the fur still needed more work to look similar to Bloop. So, I knew at least I had gotten this far. Robert harnessed my skills even further and made the encouragement I needed to push myself to help bring this new creature to life!

Third attempt above.
 A week later by the end of March I had felt a lot more confident in this creature's look and immediately contacted Robert! Sure enough, he was pleased with the new creature!! I was so thrilled and thankful for all his encouragement and patience with me!! After what felt like ages, the new, "Sea Monkey" creature was completed!! I was so happy more so for Robert and for him to enjoy this amazing creation! If it wasn't for his belief in me and harnessing my talents I wouldn't have even thought my hands could create this awesome Sea Monkey!! Haha!

Sea Monkey Bloop!!
I couldn't wait for him to receive the Sea Monkey, so I immediately shipped him off. So I hope to update you all with a photo from Robert when this creature is where he is meant to be displayed!! 

If you have read this far, thank you and for sharing a part of my recent commission experience! 

Thank you for reading! ~ ggsdolls 

Friday, February 2, 2024

My Birthday Month is Here!!

February has been a special month for me, not just because its my birth month, but because there's Valentine's Day and a few presidents celebrated this month for their bdays!!

LOL So, here's what I found the past few weeks...

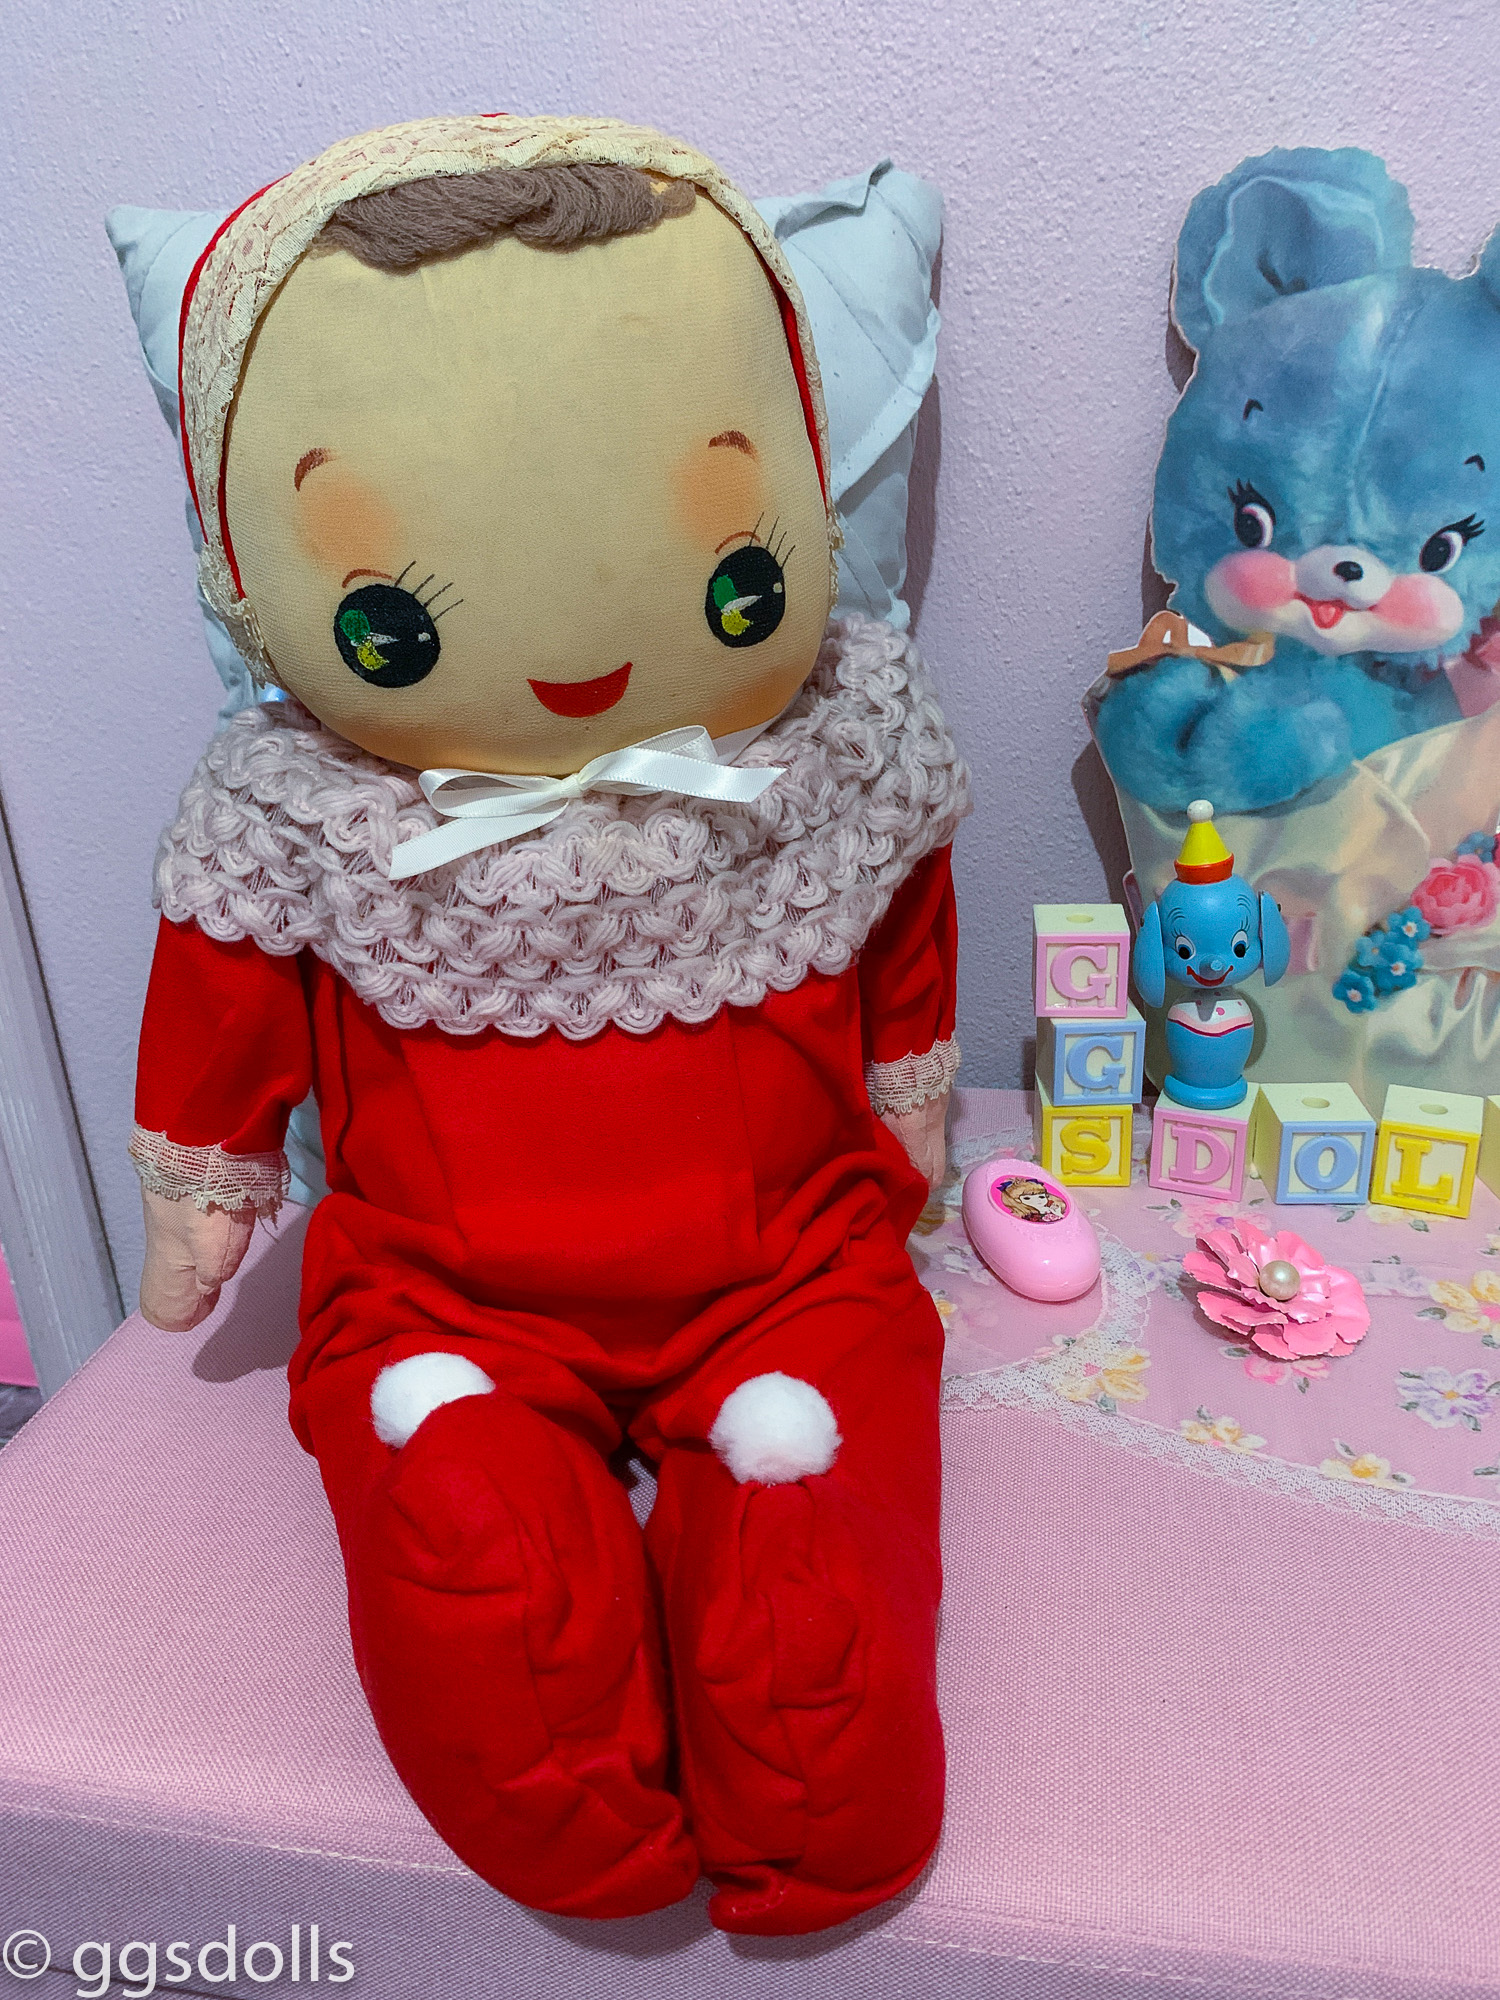
Items I found from Japan, this adorable vintage terry cloth bath sponge in the shape of a bunny head, still mint in package! This adorable and creepy sleep eyed doll from the 1950s. I have this large one and a small one. All are listed in my Etsy shop!

Next, this adorable Baby Bunka doll that is quite large too. Already adopted by a fellow collector friend. She is able to sit upright, so legs are jointed. I love the hand painted features of her face too!

These adorable Macoto and Junichi handkerchief I got as a lot. I listed 3 out of the five that were together. I am keeping these two for now...

I don't know if I mentioned, a few years back I got this adorable puppy shaped perfume with a pink lid... Little did I know they used to come in a set of 3 fragrances, Jasmin, Gardenia, and Carnation. All made by Manon Freres perfumes, 1940s. I love the colors and the box they came in was a carnival tent shape. Sadly, the Jasmin perfume leaked I guess and made the roof warped really bad. Ugh. I was devastated, but se la vie! I love the smells, some remind me of my mother's perfume back in the 70s. Below, this adorable clock Plakie rattle mint in box I won from the bay. I will treasure it. Just too cute!!


These adorable vintage upcycled orange and pears, I made into anthropomorphic ornaments! I had them in my shop just a few days ago and they sold out in less than a week! I hope to make more soon! Glad that there was a good reception for them. The orange was based off of the operatic orange that I used to watch as a kid on Sesame Street! A great memory too!
 

@ggsdolls_vtg These upcycled anthropomorphic cuties in my shop!! πŸŠπŸπŸŽΆπŸ›️πŸŽ€ #ggsdollsshop #upcycled #vintage #kitsch #anthropomorphic #fruit #ornaments ♬ Carmen Habanera, classical opera(1283412) - perfectpanda

  These two lovely records booklets with sleeves that I got from Japan. Below is one called, "Gift for Girls". This booklet has lovely artwork by Rune Naito and includes four records. Made of really thin plastic and can sit inside a page of the booklet. Each record has one or two songs on it to play. Mostly classical songs. Very calming and beautiful to listen too. The second record is called, "Swan Princess" and the other side is a boys anime theme song called, "Fight Pyuta". Not sure. But still cute!


I also got some adorable anime girl items, like this coin purse above and Macoto T. mini notebook. Just love Shoujo anime gals so very much!! Brings all the nostalgic feels I had as a kid.

Lastly, these adorable vinyl stickers I had made of my "Happy Bear" and "Peter" rabbit. Both are available in my shop too!  You can stick them on your car!! That's all for now, happy thrifting!

Thank you for stopping by! ~ ggsdolls

Below: some tiktok vids I made of the records and stickers, etc.!!


@ggsdolls_vtg Let’s look and listen to this vtg 1960 music gift for girls booklet and records. Came w 4 thin plastic records and music lyrics. 🎼⏺️πŸ’–πŸ₯Ή. #ggsdolls_vtg #ggsdolls #mycollection #vintage #records #classicalmusic ♬ Summer party (20 seconds) - TimTaj


@ggsdolls_vtg Made these Rushton style vinyl stickers of my Happy Bear and Peter!πŸ’–πŸŽ€πŸ›️. #ggsdollsshop #rushton #kitsch #maryrushton #stickers #ggsdolls ♬ original sound - Puff ♢

Monday, July 18, 2022

Commission to Space!!

    Well, not really. But one that is space related to a famous family TV show titled, "Lost in Space". No, not the Netflix version, but the good old 1965 version of the TV series. I was commissioned by a fan back in April of this year, named, Robert M. He simply messaged me via Etsy on my Restoration listing asking if I would be interested in transforming a vintage plush chimp he had into the character, "Debbie the Bloop" from the TV series for his collection.


     Of course I was a bit taken aback, only because, my listing was for restorations, and not a complete transformation of a plush into something else. So, I wrote him back asking if I was just to change out the ears? He explained himself better and he sent me photos of Bloop to help. I was somewhat hesitant at first, but the idea of just trying was in my head before I knew I could even make the idea become reality...    

    When the plush chimp arrived, I removed all stuffing and as per usual washed and cleaned her up. I had to wait a week for the black fur to arrive from my supplier. I began immediately when the fur came in, working on her by removing her face and ears to begin the process of creating the dome shaped head that Bloop has. I drew out the pattern for both her head and ears, and began cutting the fur. I had sewn the dome head and decided that foam and stuffing would work to my advantage in creating the dome head Bloop's character had. In the photos above, Bloop's dome head is actually a hat. I thought of creating that at first, like you would with ears for a hat that perhaps, a Blythe doll would wear or one for Cosplay. But, that was not what Robert had wanted. He wanted her head to become this character. I was somewhat fighting within myself, because I restore vintage and didn't want to take away from this vintage plush. In the end, it is what the customer wants that is my job. So, I began the journey of creating 'Bloop'.


    Creating the ears for Bloop was a bit of a conundrum. LOL I knew I could create the pointy ears with wire and the fur fabric, so I did. But, how could I incorporate it onto the existing ears... It was a lot of trial and error. I had completed it up to this point. The head was a bit high, so I took it in some on the top of Bloop's head.
The wires created a perfect high point tip and was sewn into the side of the head with the ears. My first attempt was worthy but, the ears were missing something, I wasn't sure what?! So, I asked my kids, and Tevin suggested I use prosthetic elf ears. It was like a TADA moment!! A light bulb or more like lightening hit me! Yesss! I thanked Tevin for the idea and went to my local Halloween store, of course after calling them, if they had any, and they did in two styles too!! Yippee! Robert also asked me to add more fur around Bloop's hands and feet.


    Early June, I began the idea, hoping that the elf ears would work! But, when I got them home. They were a lot smaller than I had hoped. Ugh. Yes, I did measure the ears before buying them, but I wasn't sure how to incorporate them onto the ears I had already completed. The idea of abandoning what I had created thus far was something I didn't want to walk back at first. So, I decided to cut the elf ears into parts and painstakingly sew and glue them onto the ear that was already on Bloop... My second attempt.


    After sharing the photos with Robert, he was very kind and told me, he thought the ears could be a lot more uniformed. Honestly, I agreed with him. He had wanted me to "Go for the Gold!" was his expression, and my head was still in the save the originality of the chimp mode. Robert made me fully understand that he was okay if I had to cut the ears or alter them. Once I was able to let go of the idea of it being a restoration project, and more of an 'imagineering' one, like that of Disney! I finally, let go. He even liked the idea of the elf ears and did his research to find me ones that were large enough to fit on this Bloop. Sure enough by mid June he had found a set in the UK. Now, I just had to wait for them to arrive to me in the mail. In the meantime, my family and I had gone on our family vacation. When I returned home, sure enough the elf ears were in the mail. Inside the box, was Robert's suggestions along with a diagram of what he wanted and a print out of the actor who played Will and Bloop.


    I truly appreciated the fact that he gave me a bit more instructions as to how we could manage the elf ears and realize them onto Bloop. I began working on Bloop this past week, and here was the end results below. At first, I painted the ears to match skin color as it was a very pale skin tone. But then realized it needed to be more of an orangey brown to match her face, hands and feet skin tone. So I repainted them, and thanks also to Sara who noticed it first and gave me her critique on them. Thanks my girl! Third times the charm!!

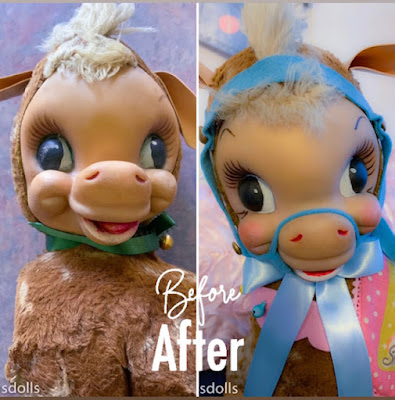
The Chimp above before and Bloop after. She looked more like the Bloop she was meant to become. I took photos and shared them with Robert. He was thrilled and appreciated the work I had done. Bloop is now on her way to her forever home. I am so thrilled to have been taken outside of my comfort zone and was able to help realize something that was just an idea a few months ago, into something that is now a reality. I truly appreciate Robert M. for giving me the opportunity to challenge myself and my skills of restoring. Debbie will be forever a plush who has gotten me to believe in myself and what I can make possible.


    It is in being challenged that we find the faults in ourselves and what can be imagined as well. We only need awesome people like Robert to help us realize our true skills. You know what Rob, you are like Walt Disney, your belief in me, made Bloop a reality, and for that I thank you sir!! Robert even shared with me his other reason for wanting Bloop created. But, I won't share what that is yet, until after the event. I hope to be in contact with him to find out how it all went... Bloop's story will continue!

Thank you for looking! ~ ggsdolls


Saturday, February 19, 2022

Nellie-Belle Restoration!

 I recently, had a windfall of Rushton cuties the past two weeks. Next up, it's Nellie-belle, a Rushton Pony!

This is from an advertisement about her. Nellie-belle arrived to me early in February. But, I took some time to get her worked on, as I have been working on other things. I don't really collect too many of the other types of Rushton animals, and Nellie is one of them. I decided I will restore her and then resell her in my shop. So when she arrived, she was missing, her tail, her saddle, and reins as well. She also needed cleaning on her face.


So, as with all my plushies, I began with taking out the stuffing and washing them. Her ears are a bit rough on the edges, so I just cleaned them up a bit. After she dried, I restuffed her and began working on her face. There was a lot of caked on dirt and dust. I cleaned her hooves as well. By the time all that work was done. It was time for me to repaint her. I did have to repaint her irises, eyelashes, and eyebrows. Her mouth and tongue as well. I also added a bit of blush and she was complete.
I decided to make her reins and her saddle myself. A bit similar to the one in the ad, but I decided on my own coloring and use of the Japan Rushton fabric. If you look carefully, one side is a "Happy" face Rushton bear and on the other side is a "Baby" Rushton duck. I even added some pompoms, and felt fabric too! I placed brass buttons on the reins and used felt to make them with. It is not secured on her and can be removed. I then added some bells to the felt loop on the front of the saddle and there are snaps on the felt, for easy take off. I then, waited a week to work on her tail. Mostly because I wasn't sure how I want to attempt making it... Decisions, decisions...LOL
So, I added a blue satin bow to her and just today, finished the tail. You see on the Rushton ad, Nellie's tail is actually attached to the saddle. When she arrived to me, there was no hint that she had a tail. So, this is why I think it was attached to her saddle? I could be wrong. Ultimately, I made her one using off white felt fabric and sewed the tail onto her body. I couldn't find off white yarn to make her tail with, but I think the felt fabric was actually prettier on her! Now, she is ready to be loved again!!


Next, I found this lovely Totsy brand doll dress in pink for my Alice hybrid doll. I recently had my husband help me to modify her so that her head sits permanently into the Whimsie body. This dress was a perfect fit too! Now, to wait for some shoes to put on her...


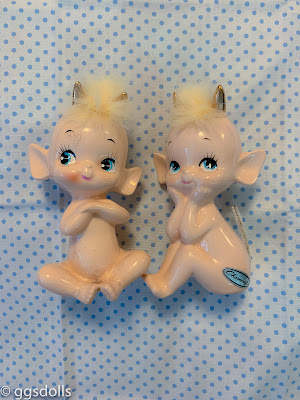
I also found this lovely satin blue vtg Valentine's box, rare to find it in blue and in such lovely condition. I also won these adorable Demon baby figurines. They are already adopted and should be with their new Mommy soon. I love this version. I've seen them in an orange color and red, I believe. Made by Charmcraft, China.


Then, I also had some prints made of these two cuties! My Rushton crying bear and Betsy on a shelf! It took over a month to get to me. Ugh. I may need to find another company that can ship faster! I've already added this to my Etsy shop!

Last for today, is this lovely vtg Kanebo yarn doll hanger. I have been trying to win something like this since last year. I saw 2 others up for auction and both times, I lost last minute. So this time, I actually won it and Yay me!! It matches so well with my brooch. Love Kanebo made accessories. They are always too cute and they have that 50s vibe of Japan!

Enjoy your weekend all!

Thank you for looking! ~ ggsdolls